Article
How to make a Christmas wreath with children
Use natural loose parts to create a beautiful handmade gift
| December 2021Natural loose parts are the perfect medium for open-ended creativity. Children enjoy exploring texture, shape, size and colour as they design their own wreath, and practise fine motor skills at the same time. The result makes a beautiful handmade gift to bring home.
Materials needed
- Cardboard
- Glue
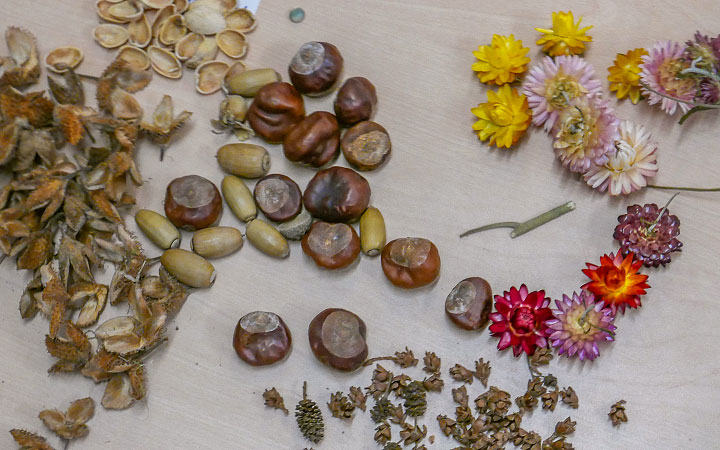
- Plenty of natural loose parts such as pine cones, beech nuts, seashells, seeds, etc.
- Coloured ribbon or string (optional)
- Scissors for adult use only
Instructions
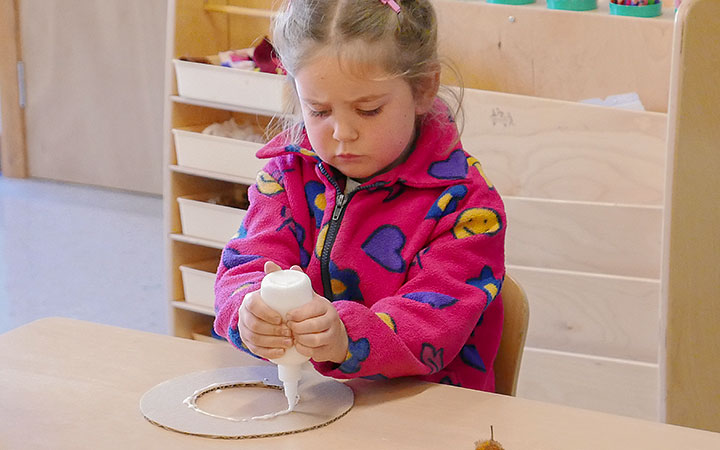
- An adult will need to pre-cut cardboard circles with a hole in the middle. If you wish to add ribbon later, punch or cut a hole close to the outside edge of the circle.
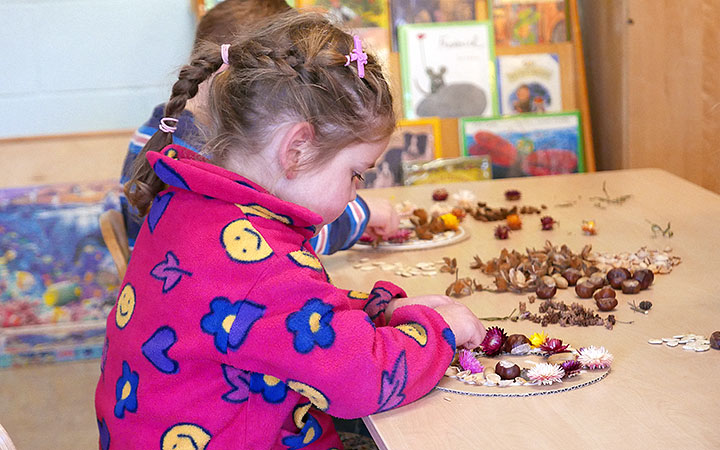
- Provide children with a range of natural loose parts, giving them time to explore these. Perhaps you already have some available in your art area, but this can also be done as a separate activity by going outdoors and collecting with the children. Avoid collecting objects that are too heavy (e.g. stones) or will turn brittle when dry (e.g. leaves), and be sure that items are dry before gluing. If collecting from the outdoors isn’t an option for you, natural loose parts are available to purchase in craft shops.
- Allow children time to design a pattern. They can arrange items on the table to get an idea of what they want to do, or arrange a pattern on the cardboard circle without using glue yet.
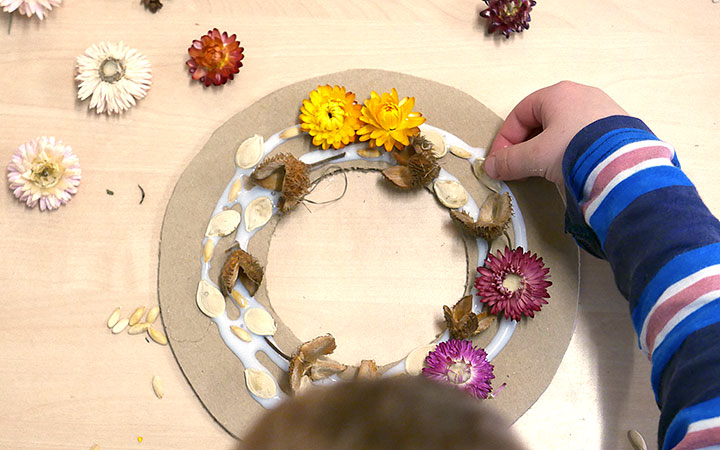
- Squirt a circle of glue around the inside of the cardboard circle.
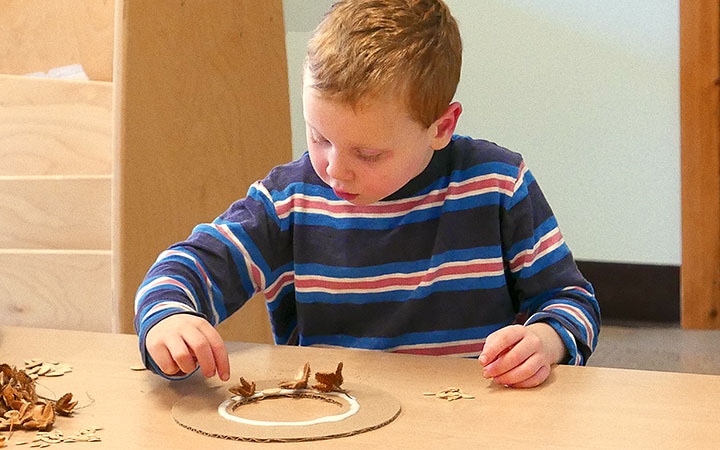
- Place natural loose parts on the glue, making a circular pattern. Ensure that enough glue is used to properly fasten nature items to the cardboard. (Note that regular PVA glue will be clear when dry.) Encourage children to fill in empty spaces. They might want to make their main pattern with larger loose parts, such as pine cones or beech nuts, and then fill in the rest with smaller ones, such as pumpkin seeds.
- Repeat the above process, squirting another circle of glue around the first one, then placing items, until the cardboard ring is full.
- Allow item to dry fully (24 hours).
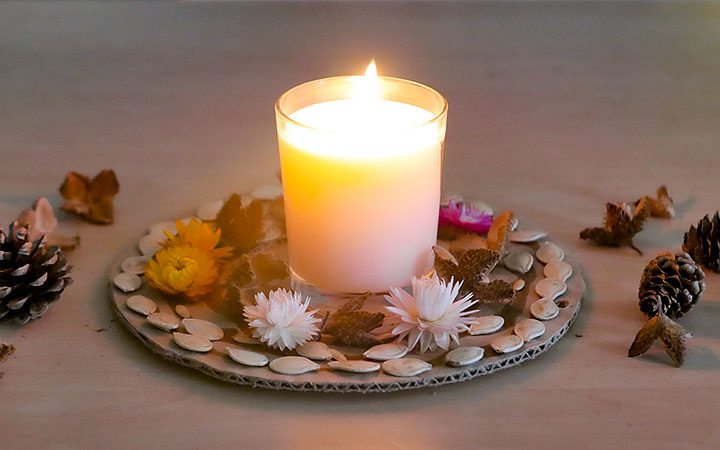
- Add the finishing touches. Either thread a ribbon through the hole at the top to hang your wreath, or place a jar candle in the centre of the wreath to make an attractive natural table centre.
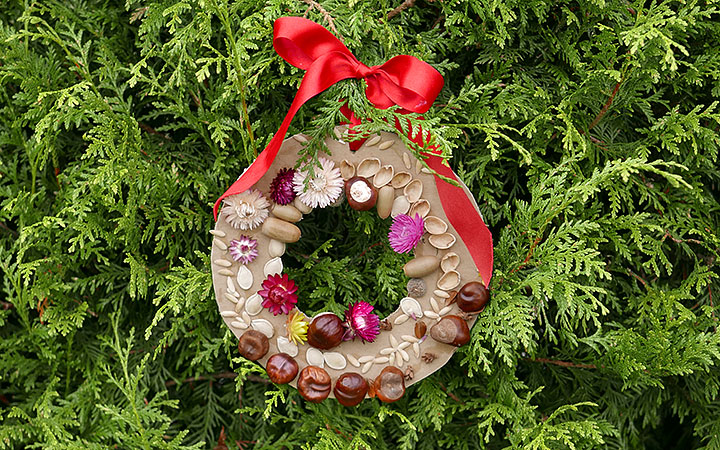
Your children will be proud to bring home something they’ve made themselves!
Topics
Projects & Activities, Arts & Design
Age
Use
More from Projects & Activities


