Paper Easter egg with a surprise chick inside
An Easter art and craft idea
| March 2020Bring out this nest egg just before Easter break to surprise parents. It's lovely to be presented with a beautifully decorated paper Easter egg. But when it hatches to reveal a surprise chick, everybody smiles!
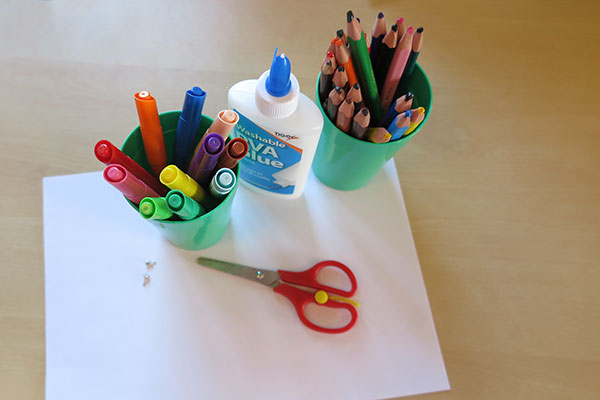
This project can be done in one or two sessions, by children of all ages, with a few simple materials:
Paper, crayons (pencils or felt pens are fine too), glue, scissors, and a paper fastener.
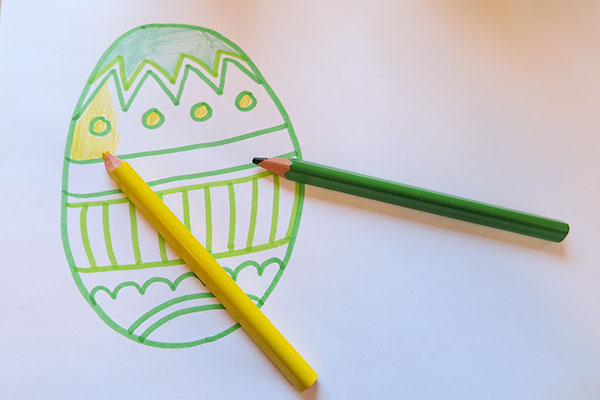
1. Draw a beautiful Easter egg or colour in an Easter egg template.
2. Have children snip around their finished egg.
Note: for very young children you can have them colour in A5 papers. Then stack all the papers and cut an egg-shape out of them all.
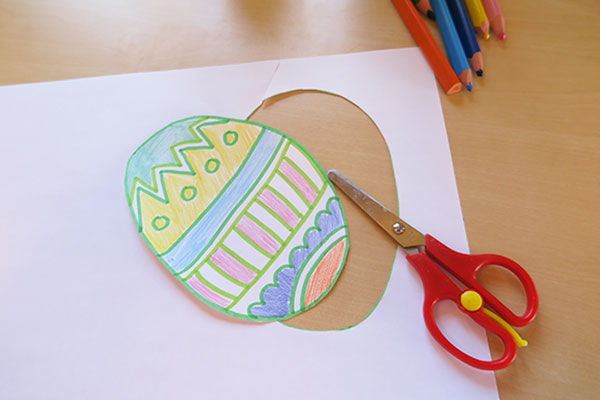
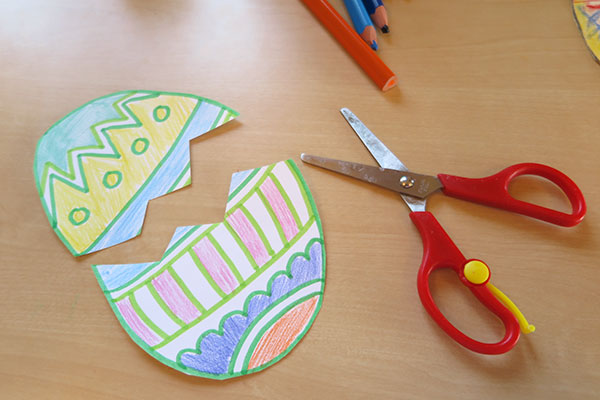
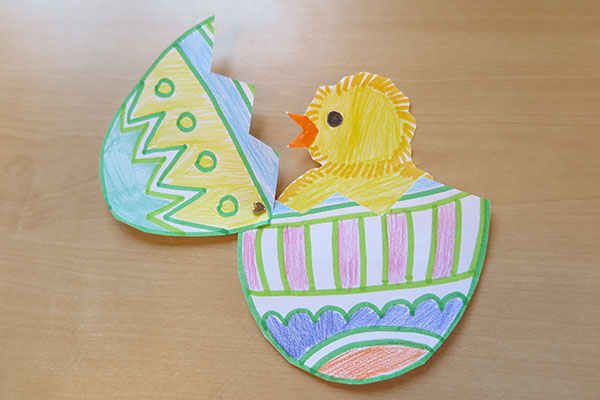
3. Snip the egg in half, as shown. A zigzag cut looks best.
4. Draw a chick (or a surprise animal of choice) on another piece of blank paper.
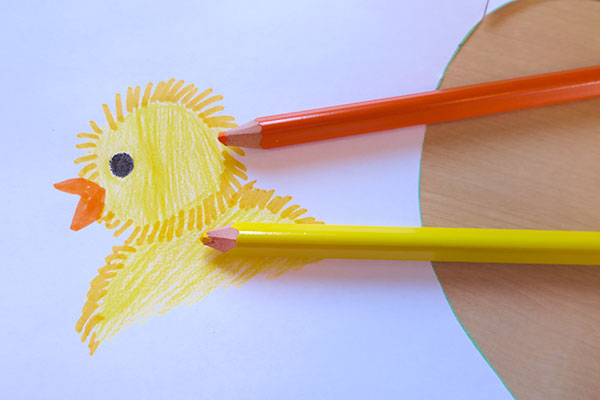
5. Snip out as shown, leaving a tab for gluing. Apply a bead of glue to the tab, and stick the animal to the back of the bottom half of your Easter egg.
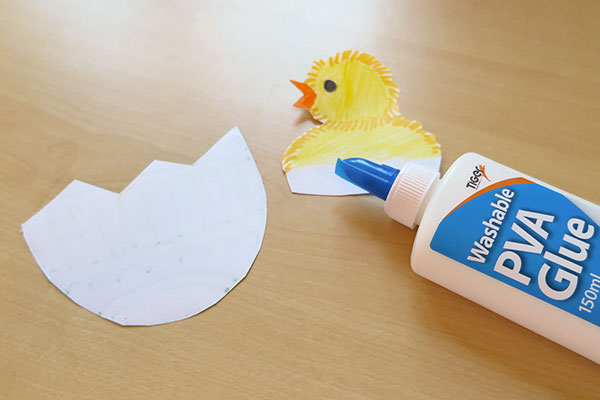
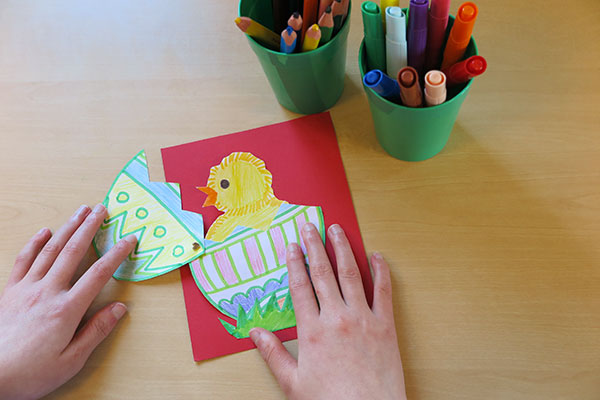
6. The egg should now look a bit like this.
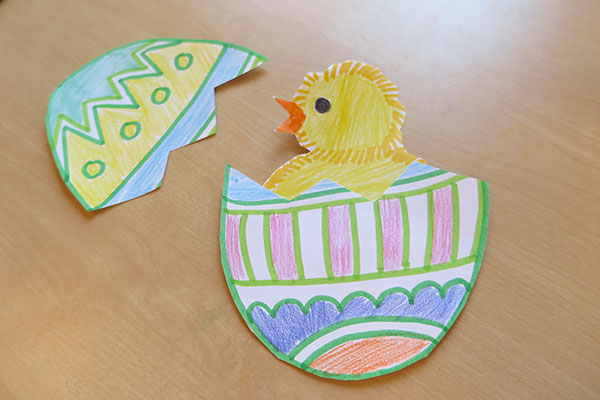
7. Overlap the top section of egg onto the bottom half, and attach with a paper fastener. The top part of the egg can now swing neatly down over the chick to hide it.
8. You can fasten a string to the top of the surprise animals' head for a wall hanging, or mount it to a card. Happy Easter!